
You’ve purchased your new Rooney Sewing pattern, and now it’s time to get started! Let’s walk through printing out your PDF pattern, together.
Once you’ve downloaded your pattern, you will open your zip file. Double-click this folder on your computer to open the files.
You’ll want a pdf reader like adobe acrobat, which is a free app to open the pattern. You can download that here.

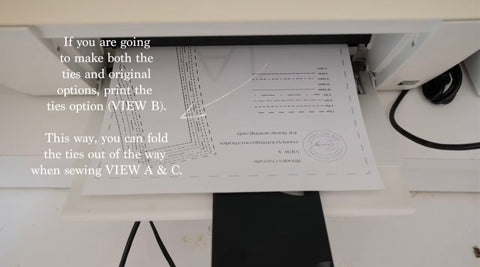
Select which view of the pattern you’ll be making, open this file in the PDF reader, and if you want to print one size at a time, you’ll see on the left hand side a layers option to select the size you want to print.

Print on 8 ½ x 11 standard US paper. Before you print, make sure it’s selected to print the actual size.
Your pages are going to print with gray letter in the background, dotted lines, and diamonds. These will guide you as you line up the pattern perfectly.

The letters indicate the column and the number indicates the order in the row. You can also reference your pdf pattern layout included in the pattern.

You’ll want to trim the bottom and right sides of the dotted lines or you can fold these edges and skip the cutting part.

Line up the diamond shapes and take each piece together. When you reach the a letter. This is your cue to move to the next row and align the a columns.

This is what your finished pattern should look like when taped together. Of course the pattern pieces may look different depending on which pattern you are making but, the taping will look similar. Now, you are ready to select your fabric and get making!
